The History and How To of Stick & Poke Tattoos
The History of Stick & Pokes
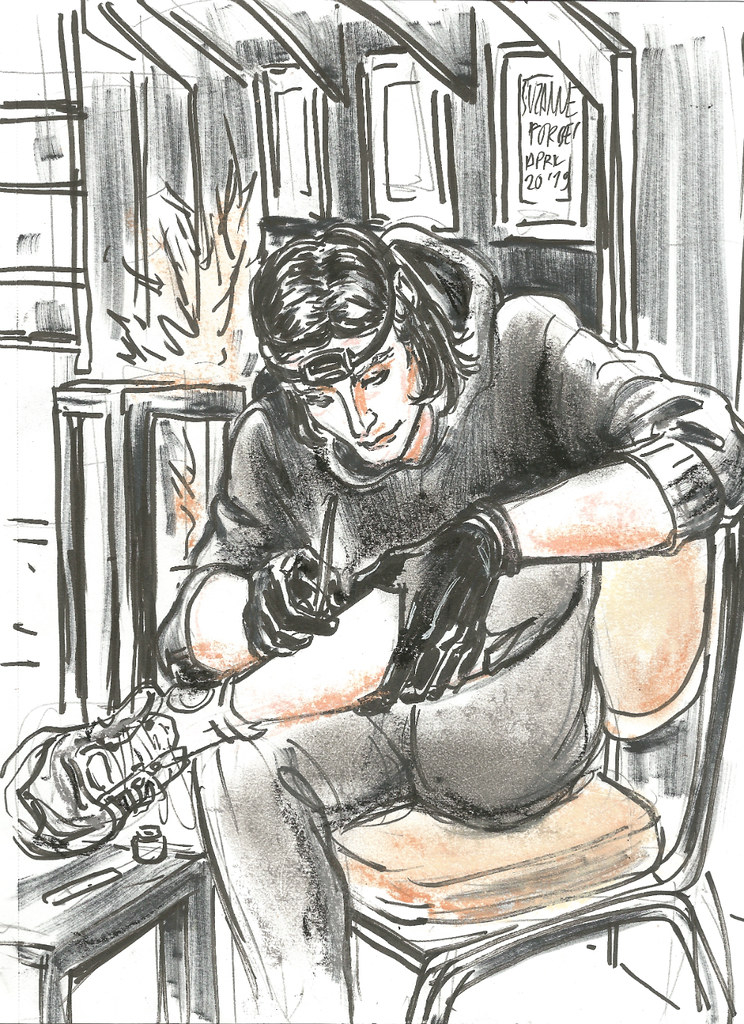
Stick & poke tattoos are the oldest forms of tattoos, created before the invention of electric tattoo machines. Although we are unsure as to when and where hand-poked tattoos were first created, the oldest discovered tattoo was discovered on Ötzi the iceman and has been dated back to 5,200 BCE; Long before the record of the Egyptians’ use of this practice. These tattoos were often used to affirm a communities connection or as a religious practice; a far cry from the aesthetic-based motives of today’s tattooed community. The needles were made of wood or fragmented bones or thin sharp blades. Nowadays we use sanitized needles, much sharper and with a greater precision which renders the process much less painful.
Hand-poked tattoos are created through a series of dots, accumulated to create a design. The skin is pricked repeatedly using a needle that has been dipped in ink. Details and shadows are created by using an array of different-sized dots, positioned at differing distances from each other.
Credit: Sean Minteh / openverse.engineering.com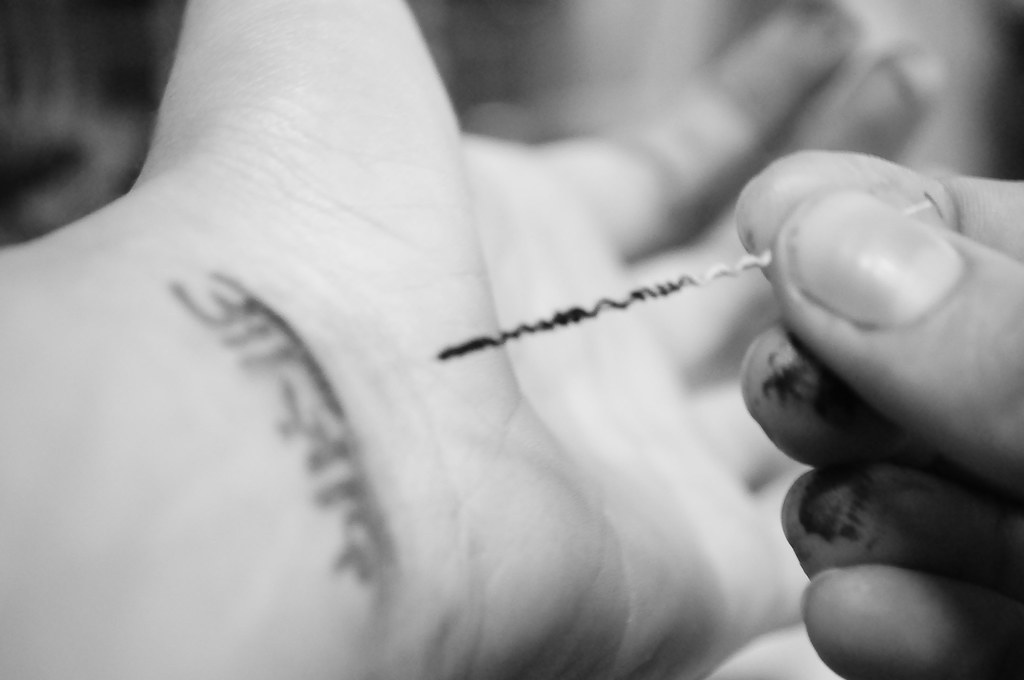
Italian Friars created religious tattoos as proof of their pilgrimage to holy places. The tattoos consisted of crosses and different circular shapes. These tattoos, however, were meant to be kept private and certain members of the faith looked down upon this practice.
In Oceania, traditional tribal tattoos were practiced as a sacred rite; using a hammer-like tool made out of bones or fangs. The tattoos would sometimes cover the entire body, consisted of different patterns and motifs and were performed by men or women with a priestly status. They were required to be performed during specific rituals.
The Native Americans and Inuit generally used sharp stones or porcupine quills dipped in pigment and applied using the hammer technique mentioned before. They used magical symbols for protection with plant pigment which was either black, green, or blue. The practice of tattooing was especially practiced on women; the artists were older women and pigment was made out of black soot or seaweed.
In Chinese medicine, men and women tattooed dots on their joints or other acupuncture points to protect themselves from disease and evil spirits; these points are somehow the same in many different cultural tattoos.
Hand-poked tattoos are called “Tebori” in Japan; meaning “hand-sculpting”. The hammering technique is also used in this traditional process which requires a tool made of of a lime tree branch attached to a bamboo stick; the “ink” being wet charcoal. The simple designs of nature-related figures or symbols are meant to protect the wearer from evil spirits. In modern Japan, tattoos have been associated with the Yakuza - the Japanese Mafia - and therefore have gained a bad reputation; something that has been changing in the past few years.
It seems as though almost every culture coincides with the spiritual or aesthetic practice of stick & pokes; a fact which must reveal something about the impact of this practice. So why not try it for yourself? Below is your guide for
A Stick & Poke Guide
Tools Needed:
- Sterile tattoo needles
- Pen or Tattoo stencil
- To transfer your design onto the desired area
- Tattoo ink
- I recommend starting with black
- Disposable razer
- If the area requires it, but better to be safe than messy!
- Alcohol, or other sanitization, pads or wipes
- Sanitized gloves
- Ink cup
- To hold ink for dipping your needle
- Surface cover
- Avoid mess!
- Witch Hazel pads or wipes
- This is optional but will aid in sterilizing the area and reducing inflammation
- Tattoo bandage or cellophane and tape
- To protect your new tattoo
- Healing cream (I recommend: Cicalfate, Cicaplast, Bepanthen Tattoo, or a specialized cream which can be found at any pharmacy)
- Used after the tattoo is completed to promote healing
- Sunscreen SPF 50+ (can be found at any pharmacy)
- Fragrance-free soap that is PH-neutral
- Optional: Elastic bands
Step by Step Guide
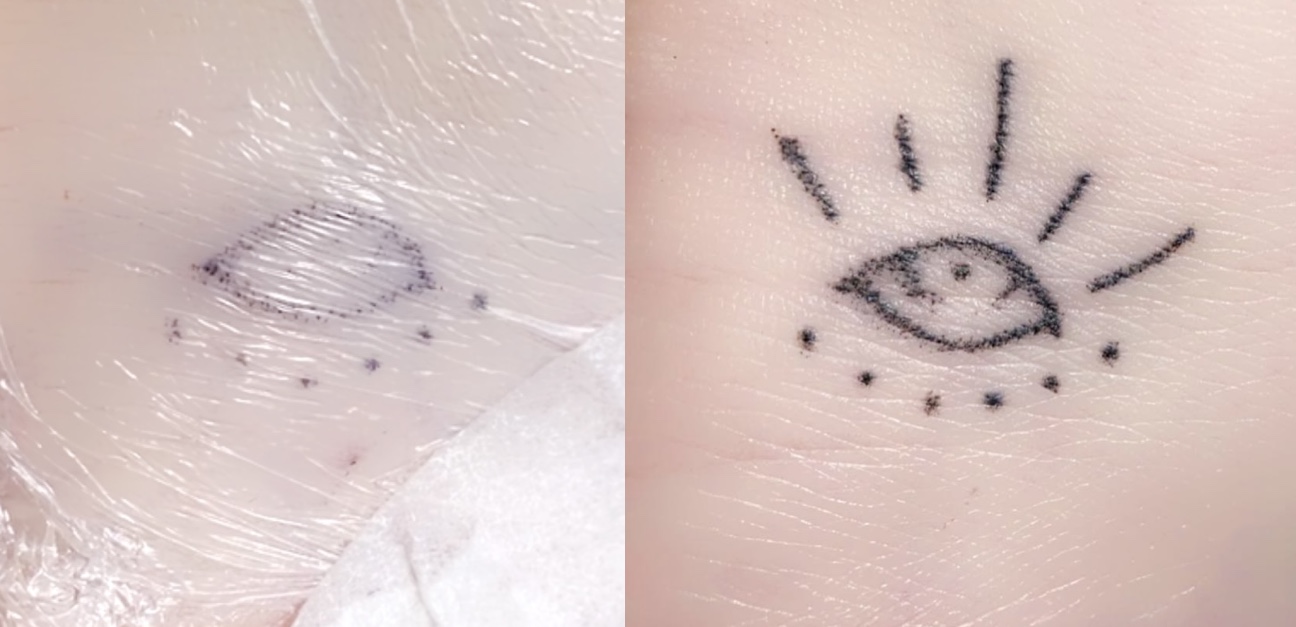
- Design your stick and poke. Here are some ideas!
- Place your surface cover and take out your equipment so you have everything in hand reach
- Wash the area you are planning to tattoo with your soap and put gloves on, shave the area you will tattoo and disinfect with a sanitizing wipe
- Shake ink and place it in an ink cup
- Trace your design on the desired area, make sure it is not altered by the positioning of your body, let the design dry before commencing, gently sanitize the area
- Take out your needle and fill it with ink by placing it in the ink cup
- Optional: wrap elastics around the needle for better grip
- Poke the skin at a 45° angle and tattoo your outline one dot at a time
- Make sure to not go too deep but deep enough for the needle to break the surface of your skin
- Remove excess ink with sanitizing wipe or pad as you go along
- If your skin is very irritated; pause the tattoo process, you will always have time to complete it later!
- Keep going over your outline inter you reach your desired results
- I recommend starting at the bottom of your design or line and working your way up.
- Add dots at different distances and widths to create shadows
- I recommend not doing this on your first try; why make it hard for yourself?
- To dispose of your tools, place your needle in a plastic bag before throwing it away. You will require new needles and an ink cup after you have used it.
- Remove your gloves and wash your hands thoroughly; Disinfect the Tattooed area and use the Witch Hazel wipes to sanitize and promote the healing process
- Protect the area with a bandage and keep the tattoo clean but do not wash it excessively and make sure it dries
- Apply cream to moisturize the area and promote healing; Apply SPF to protect the tattoo from UV rays
- Remember to keep the area clean and dry; do not keep it in contact with stagnant water and avoid friction
Here is a video in case you want a visual reference!
Credit: Michael Burrows/Pexels.com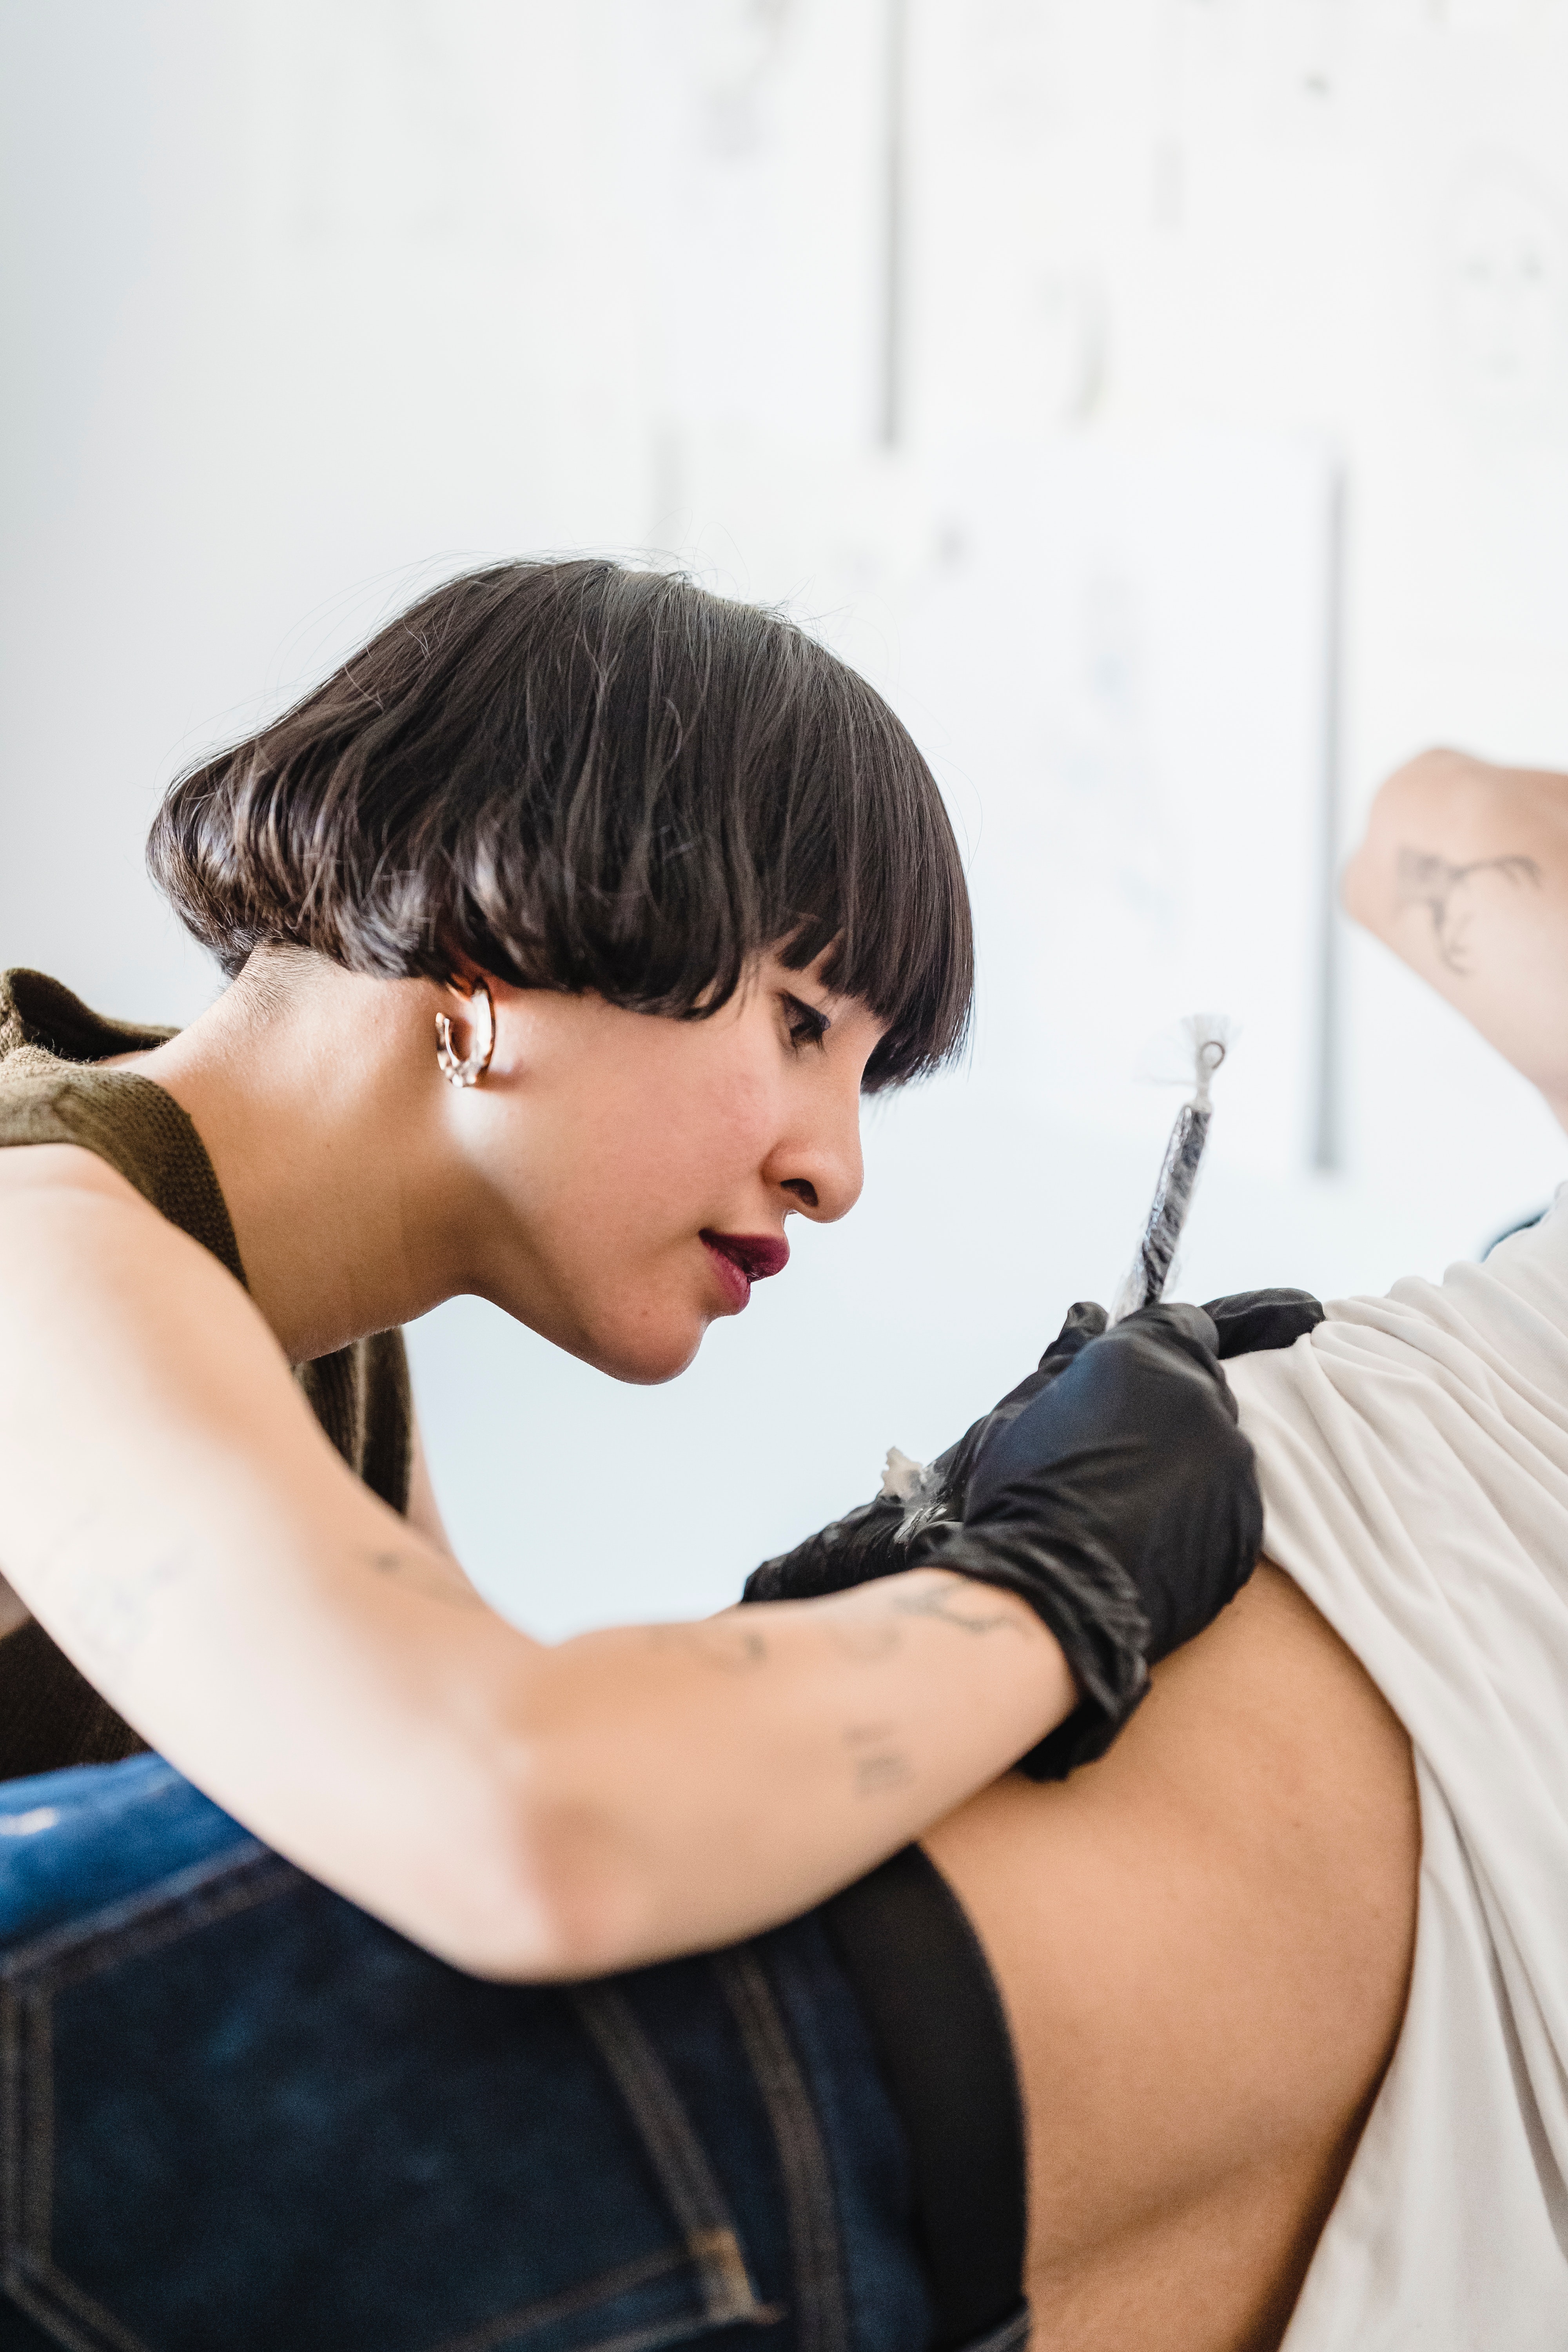
If you do not wish to tattoo yourself but want to take part in this ancestral practice, here are some recommended tattoo salons:
Stick & Poke Tattoo Shops in Paris:
Handmade Fine Tattoo
Address: 152 Rue St Charles; 75015 Paris
Website: https://www.instagram.com/handmadefinetattoo/
Yōso
Address: 5 Rue Euryale Dehaynin, 75019 Paris
Website: https://www.yoso.paris/
Le Sphinx Paris Tattoo
Address: 25 Rue Moret, 75011 Paris
Website: https://www.pinterest.ch/pin/435301120223463747/
Bonjour tattoo club
Address: 6 Rue Nobel, 75018 Paris
Website: https://www.bonjourtattooclub.com/rendezvous
La Bête Humaine
Address: 5 Rue Pierre Chausson, 75010 Paris
Website: http://www.labetehumaine-paris.com/
Boniments Bleus
Address: 8 Rue Jules Vallès, 93400 Saint-Ouen
Artiste profile: Zaki - https://underlines.co/tattooer/zaki.tattoos
Les Derniers Trappeurs
Address: 6 Pass. de Ménilmontant, 75011 Paris
Artiste profile: Tata Agnès- https://underlines.co/tattooer/tataagnestatau


